
Email format error
Email cannot be empty
Email already exists
6-20 characters(letters plus numbers only)
The password is inconsistent
Email format error
Email cannot be empty
Email does not exist
6-20 characters(letters plus numbers only)
The password is inconsistent


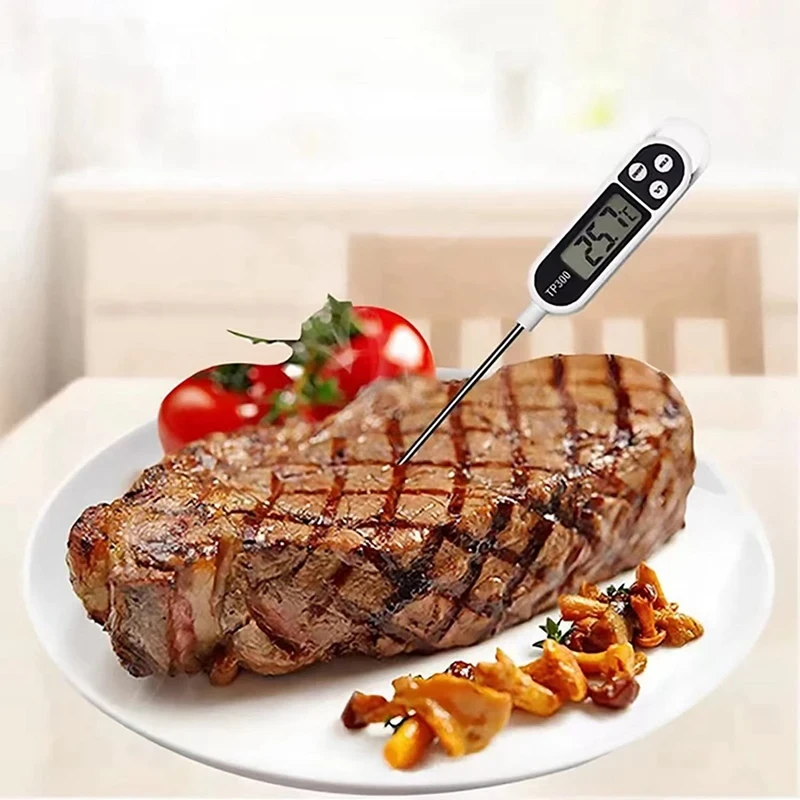
How to Use a Meat Thermometer for Roast Beef
Cooking the perfect roast beef is both an art and a science. The key to mastering this culinary delight lies in understanding how to use a meat thermometer for roast beef. In this comprehensive guide, we’ll explore everything you need to know about using a meat thermometer to achieve a deliciously tender and juicy roast beef, ensuring it’s cooked to perfection every time.
Why Use a Meat Thermometer?
Before diving into the specifics of how to use a meat thermometer for roast beef, it's crucial to understand why using one is so important. A meat thermometer ensures your roast beef reaches the desired level of doneness without overcooking or undercooking. It eliminates guesswork, providing accurate temperature readings that reflect the meat’s internal temperature, ensuring food safety and optimal taste.
Types of Meat Thermometers
There are various types of meat thermometers available, each with unique features suitable for different cooking methods. Understanding these options will help you select the right one for your roast beef:
1. Instant-Read Thermometers
Instant-read thermometers provide quick readings and are ideal for checking the internal temperature of roast beef towards the end of the cooking process. They are typically not left in the meat during cooking but are inserted as needed.
2. Leave-In Probe Thermometers
These thermometers come with a probe that remains in the roast beef throughout the cooking process. They often feature digital displays and alarms that alert you when the meat reaches the desired temperature.
3. Wireless and Bluetooth Thermometers
Wireless and Bluetooth thermometers offer advanced features such as remote monitoring through a smartphone app. This allows you to keep track of your roast beef’s temperature without constantly opening the oven.
Preparing the Roast Beef
Proper preparation of your roast beef is essential for achieving the best results. Here are the steps to ensure your roast is ready for the thermometer:
Selecting the Cut
Choosing the right cut of beef is the first step. Popular cuts for roasting include ribeye, tenderloin, and sirloin. Each cut has its unique characteristics, so select based on your preference for tenderness and flavor.
Seasoning
Season your roast beef with a generous amount of salt, pepper, and any other desired spices or herbs. Allow the seasoning to penetrate by letting the meat sit at room temperature for at least 30 minutes before cooking.
Trussing
Trussing, or tying the roast with kitchen twine, helps maintain its shape and ensures even cooking. This is particularly important for larger cuts of meat.
How to Insert the Meat Thermometer
Knowing where and how to insert the meat thermometer for roast beef is crucial for obtaining accurate readings. Follow these steps:
Finding the Thickest Part
Insert the meat thermometer into the thickest part of the roast, away from bone and fat. The thickest part is usually the center of the roast. Bones and fat can give false readings, so it’s important to avoid them.
Angle and Depth
Insert the thermometer at a slight angle, ensuring the probe penetrates the center of the roast. For accurate readings, the thermometer’s tip should be positioned in the middle of the meat, not touching the roasting pan or any bones.
Leave-In vs. Instant-Read
If using a leave-in probe thermometer, position it correctly before placing the roast in the oven. For an instant-read thermometer, periodically check the temperature during the cooking process, especially as the roast nears its target temperature.
Cooking the Roast Beef
Cooking times and temperatures vary depending on the size and cut of the roast beef. Here are some general guidelines and tips to follow:
Oven Temperature
Preheat your oven to the appropriate temperature. For a standard roast, 325°F (163°C) is a good starting point. Higher temperatures will result in a darker crust, while lower temperatures will produce a more evenly cooked roast.
Cooking Time
Cooking time depends on the size and cut of your roast beef. A general rule of thumb is to cook for 20 minutes per pound for medium-rare doneness. However, always rely on your meat thermometer for precise results.
Basting
Basting involves spooning pan juices or a marinade over the roast beef during cooking. This helps to keep the meat moist and adds flavor. Baste every 30 minutes for best results.
Temperature Guidelines for Doneness
Understanding the correct internal temperatures for different levels of doneness is crucial when learning how to use a meat thermometer for roast beef. Here are the recommended temperatures:
Rare
- Internal Temperature: 120-125°F (49-52°C)
- Description: Cool, red center with a soft texture.
Medium-Rare
- Internal Temperature: 130-135°F (54-57°C)
- Description: Warm, red center with a firmer texture.
Medium
- Internal Temperature: 140-145°F (60-63°C)
- Description: Warm, pink center with a slightly firm texture.
Medium-Well
- Internal Temperature: 150-155°F (66-68°C)
- Description: Slightly pink center with a firm texture.
Well-Done
- Internal Temperature: 160°F (71°C) and above
- Description: No pink, very firm texture.
Resting the Roast Beef
After removing the roast beef from the oven, it's essential to let it rest. This allows the juices to redistribute, resulting in a moister, more flavorful roast.
How Long to Rest
Let the roast beef rest for at least 15-20 minutes before carving. Cover it loosely with aluminum foil to keep it warm.
Carryover Cooking
Keep in mind that the roast’s internal temperature will continue to rise by about 5-10°F (3-6°C) during the resting period. Factor this into your target temperature to avoid overcooking.
Carving and Serving
Proper carving techniques ensure your roast beef is served at its best. Here’s how to carve and serve it:
Tools
Use a sharp carving knife and a sturdy cutting board. A carving fork can help steady the meat.
Slicing
Slice against the grain to ensure tender pieces. For larger roasts, cut thick slices to preserve moisture and flavor.
Serving Suggestions
Serve your roast beef with traditional sides like roasted potatoes, vegetables, and a rich gravy. Horseradish sauce or au jus can add extra flavor.
Troubleshooting Common Issues
Even with the best techniques, things can sometimes go wrong. Here are some common issues and how to resolve them:
Undercooked Meat
If your roast beef is undercooked, return it to the oven and check the temperature every 10 minutes until it reaches the desired doneness.
Overcooked Meat
To salvage overcooked meat, slice it thinly and serve with a flavorful sauce or gravy to add moisture.
Inaccurate Readings
Ensure your meat thermometer is calibrated correctly. Check it in boiling water (212°F or 100°C at sea level) to confirm accuracy.
Cleaning and Maintenance of Your Meat Thermometer
Proper care of your meat thermometer ensures its longevity and accuracy. Follow these tips for cleaning and maintenance:
Cleaning
Clean the probe with hot, soapy water after each use. Avoid immersing digital components in water. For digital thermometers, wipe with a damp cloth.
Calibration
Regularly calibrate your meat thermometer according to the manufacturer’s instructions. This ensures continued accuracy for all your cooking needs.
Storage
Store your meat thermometer in a protective case to prevent damage. Keep it in a cool, dry place, away from direct sunlight.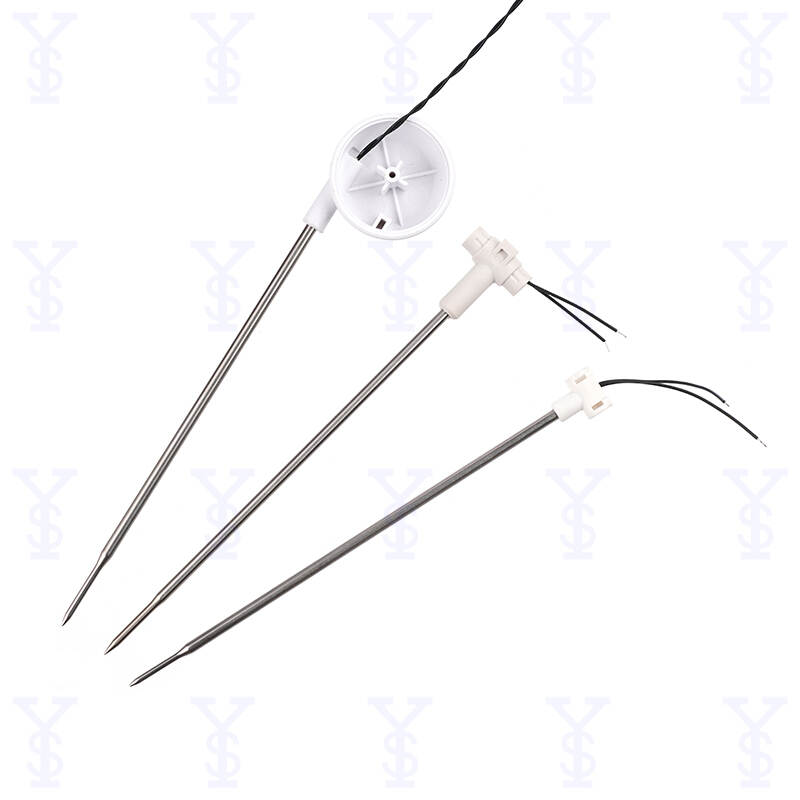
Conclusion
Using a meat thermometer for roast beef is the best way to ensure perfect results every time. By understanding how to use a meat thermometer for roast beef, selecting the right tools, and following proper techniques, you can confidently prepare a delicious roast beef that will impress your family and friends. Remember, practice makes perfect, so don’t hesitate to experiment and refine your skills.